Enable SSH on vCenter Server Appliance 6 (VCSA)
If you’re running the Appliance version of vCenter 6 at some stage you may want console access via SSH. When you install VCSA 6 for the first time you have the option during installation to enable SSH. Depending on your security stance you may have left SSH off and now you want it on.
There are a few different methods for enabling SSH on VCSA. The below two methods both use the web client.
Method 1.
Directly enabling SSH in the Web Client.
Directly enabling SSH in the Web Client.
This method is probably the easiest and quickest way. The settings just happen to be in a non-intuitive location.
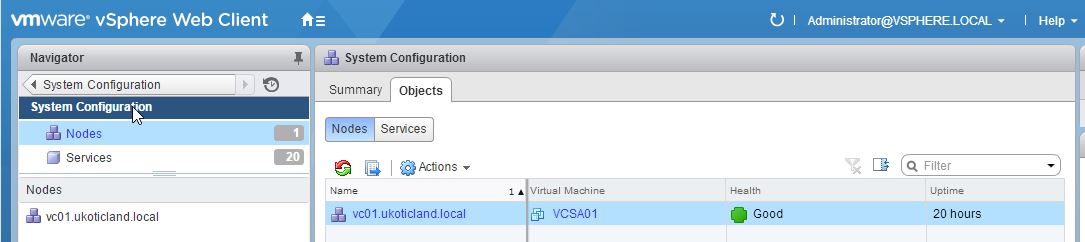
On the Home screen of the Web Client select Administration -> System Configuration

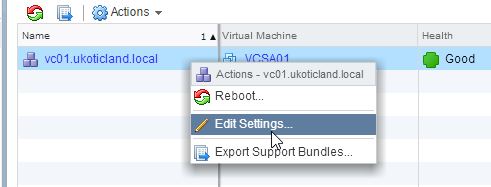
Select Nodes and right click on your vCenter server.
Select Edit Settings
Select the Checkbox Enable SSH login
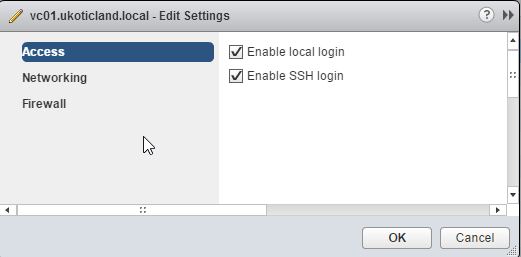
Click OK.
You should now be able to SSH to the vCenter name or IP.
Method 2.
Enabling SSH via the Remote Console.
Enabling SSH via the Remote Console.
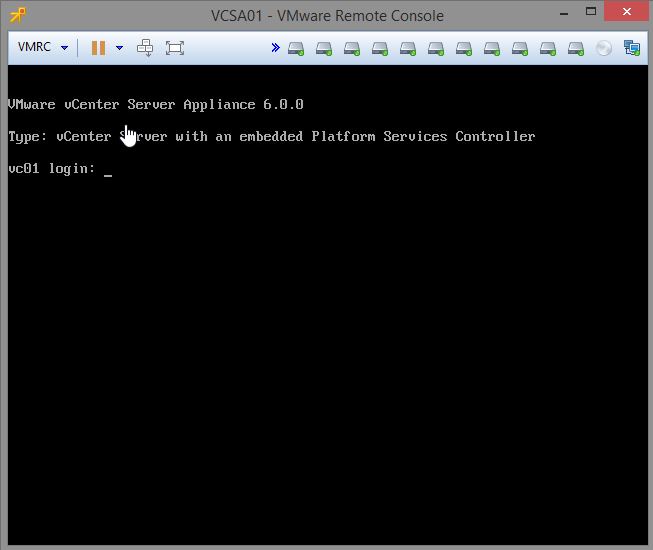
Navigate to your vCenter Appliance VM. Click on Launch Remote Console.
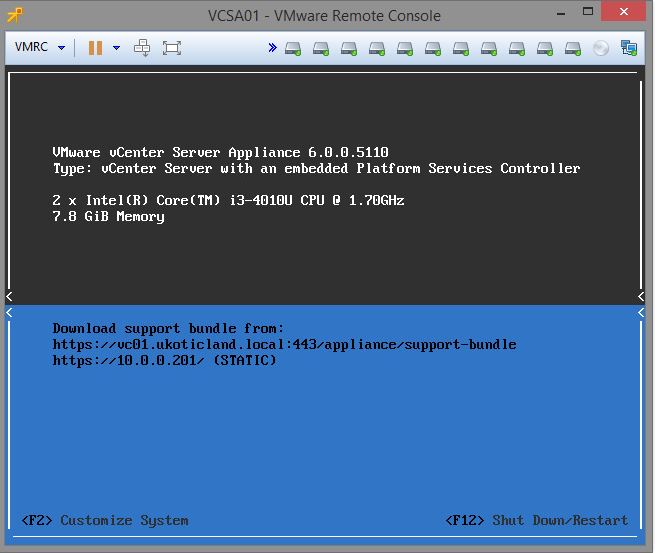
Press ALT + F1 to get a login TTY session and login as root
Run the below commands to enable SSH. ssh.get shows the current status. ssh.set allows you to change the state of SSH. Use ‘false’ instead of true to disable SSH.
Command> ssh.get
Enabled: False
Command> ssh.set --enabled true
Command> ssh.get
Enabled: True
Command>
The above methods takes effect immediately, no need to reboot. When disabling SSH, current sessions stay active and don’t end. So if someone has an open SSH session they won’t be kicked out until they logoff or their session times out.
ไม่มีความคิดเห็น:
แสดงความคิดเห็น