How to Reset Your Surface Using USB Recovery Drive
In this article, we will walk you step-by-step through how to create a USB recovery drive, loading recovery image, and resetting your Surface using the USB recovery drive.
Microsoft Surface lineup made an easy for users to recover their devices in case something went wrong by included a recovery partition on every model. However, in case you can’t reset your Surface with existing recovery partition, you can use a USB recovery drive instead.
To create a recovery drive, you will need to download recovery image for your from Microsoft Support website. To learn more how to download a right recovery image for your Surface device, please check this article How to download official recovery image for Microsoft Surface.
1 How to Create USB Recovery Drive
Before you can your USB drive as a USB recovery drive, you will need to use a built-in tool called “Create a recovery drive” to prepare your USB drive ready for booting. To do so.
Important All USB recovery drives must be formatted to FAT32 prior to loading a recovery image. For Surface RT and Surface 2, you will need at least 8 GB USB drive, while other models required at least 16GB USB drive for loading the image.
- Connect your USB drive to your Surface.
- Go to Start and type recovery. Select “Create a recovery drive”.

- Make sure you uncheck the “Backup system files to the recovery drive” option and click Next.

- Select your USB drive, and click Next.

- Click Create.

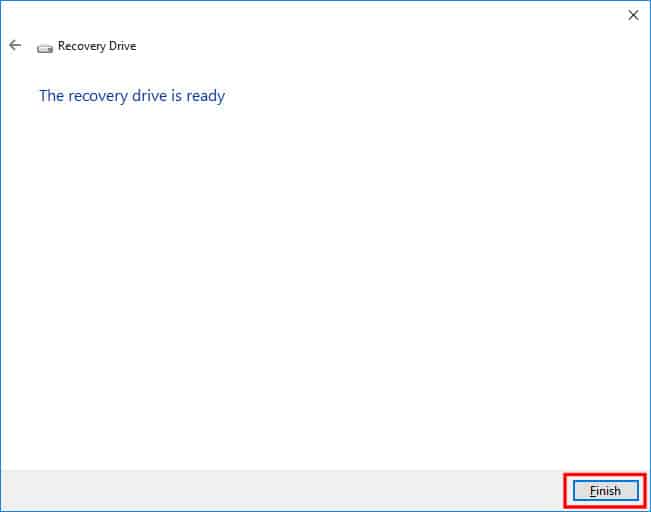
- It will take a few minutes to finish creating a recovery drive, after finish click Finish.
- Now you will see your USB recovery drive labeled as “RECOVERY” in File Explorer.

2 Copying Recovery Image Files to Your USB Recovery Drive
After you finish creating a Recovery Drive, you will need to copy your Surface’s recovery image content to the drive by:
Note If you don’t have the recovery image for your Surface yet, please check out our guide on how to download official recovery image for Microsoft Surface here.
- Open “File Explorer”.
- Open your downloaded Surface Recovery Image with the extension “.zip” with File Explorer.
- Select all items and drag them to the newly created USB recovery drive.

- You will need to confirm to replace the files in destination.

- Now your USB recovery drive is ready to use to reset a Surface to its factory settings.
3 Resetting a Surface Using a USB Recovery Drive
After you created a USB recovery drive with all recovery image files, now you can use it to recover your Surface to its factory settings. To do so:
- Shut down your Surface.
- Connect your USB recovery drive to the Surface that you want to reset.
- Press and hold the Volume Down button on your Surface, then press and release the Power button.
- When you see the Surface logo screen appear, release the Volume Down button.

- If you do it right, you will see the language options below, select your preferred language.

- Select a keyboard layout.

- Select Troubleshoot.

- Select Recover from a drive

- Select Fully clean the drive, if you want your Surface to have everything like its factory settings including hard drive partition layout.

- Click Recover to confirm recovering.

- Now your Surface will reboot and start recovering process.

- After finishing recovering your Surface, it will ask you to clear information stored on the TPM chip. Press F12 if you have type cover attached, otherwise press Volume Up button to confirm erasing.

- After it finishes clearing the TPM and it will reboot and take you to set up your Windows.

ไม่มีความคิดเห็น:
แสดงความคิดเห็น